Subfloor Prep for Flooring Installation: Pro Secrets
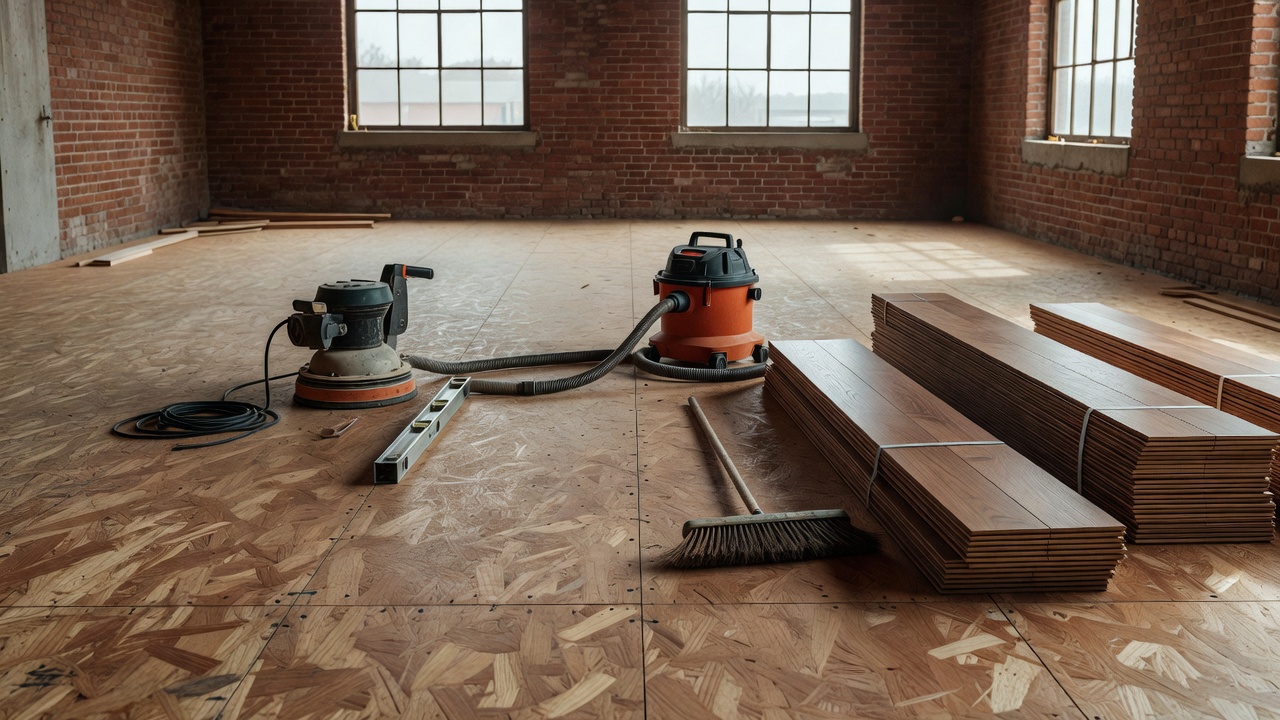 I was already three hours into a tear-out in a 1998 split-level off Route 50 when the owner waved the big-box quote at me like it was scripture. Subfloor preparation for flooring installation is the full process of inspecting, cleaning, leveling, moisture-testing, and repairing the structural base under your finished floor so the new material stays flat, fastened, and dry for decades instead of months. That's the job. Everything else is cosmetics. He wanted LVP clicked over painted particleboard that smelled like a wet dog crate. I told him the truth before the coffee went cold: subfloor prep is 80% of the job and nobody wants to pay for it.
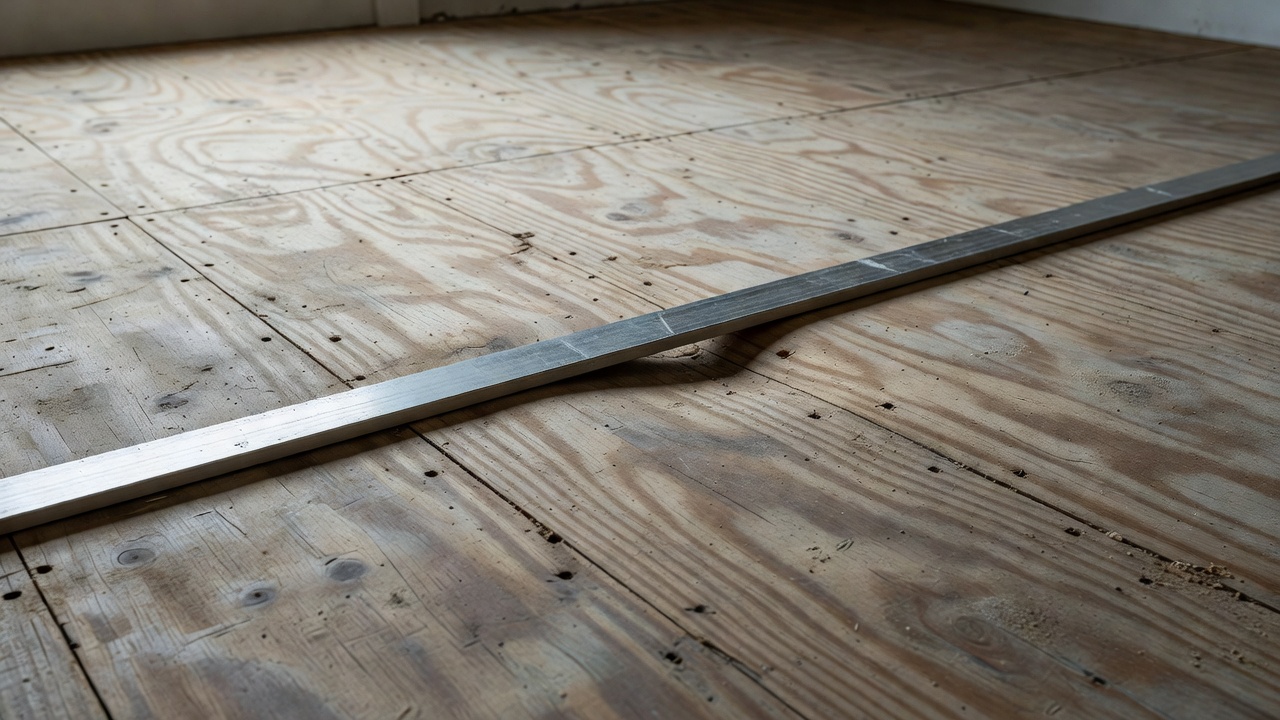
Never trust a floor that "looks fine" in the showroom lighting. That particleboard looked level until I put a six-foot straightedge on it and watched daylight under the middle. The warehouse crew had already promised him same-week install. They never once mentioned a moisture meter.
Why is subfloor preparation important for new floors?
Because the finished floor is only as honest as what you glue or nail it to. I have pulled up "premium" engineered oak that cupped into ski jumps eighteen months after install because somebody skipped the calcium chloride test and called the slab "dry enough." The homeowner blamed the wood. The wood was fine. The slab was pumping vapor like a slow leak in a garden hose. Subfloor prep catches that before the first plank goes down. Skip it and you get callbacks, insurance fights, and a floor that looks like it aged in dog years. I still remember the ranch in Manassas where we had to demo an entire kitchen of white oak that had been down less than a year. The previous crew never tested. Relative humidity in the crawlspace was north of 70 percent. Boards pulled apart at the tongue like wet cardboard. Cost the owner twice the original job once you added hotel nights and temporary kitchen. Moisture testing before flooring install is not optional theater. It is the difference between a floor that lasts and a floor that becomes a cautionary tale I tell every new client.
People keep installing those paper-thin "waterproof" planks over anything because some Pinterest board said open concept needs continuous flooring from mudroom to master. Continuous flooring over a bad subfloor is just continuous failure. The fad dies. The cupping stays.
Is it absolutely necessary to level out a subfloor before installing flooring?
Yes. Absolutely. Manufacturer tolerances exist for a reason and they are not suggestions written by lawyers with too much time. Most floating floors want no more than 3/16 inch variance over 10 feet. Nail-down hardwood is even less forgiving once the humidity swings. I carry a 10-foot straightedge and a bag of self-leveling compound on every truck for a reason. High spots get ground. Low spots get filled. Squeaks get screwed. You do not "hope it settles." Hope is not a fastening system. I had a client named Karen in Falls Church who insisted her old pine subfloor was "character." Character is fine in a bar top. Character under new flooring is a telegraphing ridge you feel through socks for the next fifteen years. We spent a full day sistering joists and sistering her patience. The floor still looks flat. Hers would not have.
When you are pricing [LINK: engineered hardwood installation], demand the leveling line item in writing. If the quote just says "install over existing," walk. That is how you buy a floor twice.
How do I prepare my subfloor for laminate flooring installation?
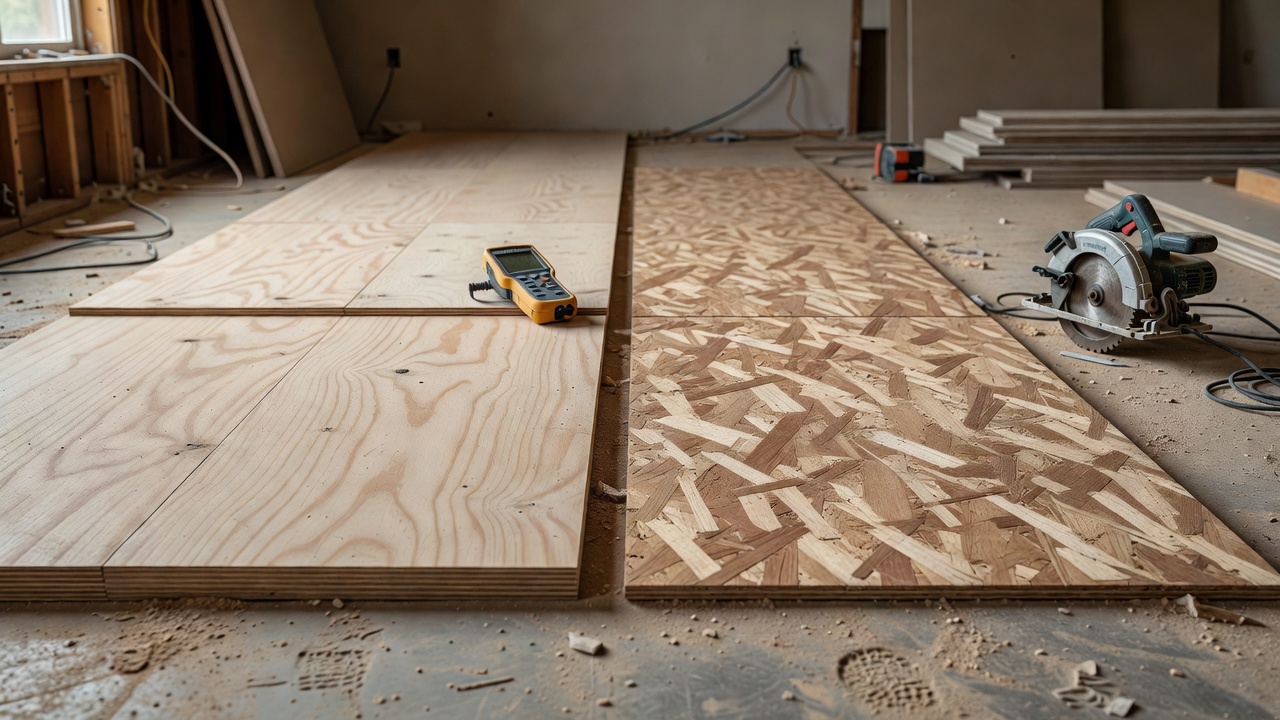
Same bones as hardwood, lighter skin. Sweep until the broom comes up clean — not "mostly clean." Vacuum the joints. Check every fastener. Any soft spot gets cut out and patched with exterior-grade plywood of matching thickness, glued and screwed on 6-inch centers. Moisture test the slab or the crawlspace vapor barrier. Laminate hates vapor more than it admits on the box. Then underlayment. Not the free foam that came rolled in the box if your subfloor is concrete or over a crawl. Use what the manufacturer actually specifies for your conditions — and if you need a modern product shortlist after you read the sheet, compare laminate and engineered underlayment stacks before you buy random foam. I have seen too many floating floors telegraph every seam in cheap underlayment because somebody wanted to save forty dollars. Acclimate the product per the sheet — usually 48 hours in the rooms it will live in, stacked with spacers, not still in the plastic in the garage. Then check flatness one last time. If you need the full professional flooring subfloor checklist I run on every job, it looks like this:
- Moisture readings logged room by room with meter model and date.
- Flatness verified with straightedge and documented high/low marks.
- All debris, staples, and adhesive ridges removed.
- Soft or damaged sections replaced and fastened properly.
- Underlayment and any required moisture barrier confirmed against the product data sheet.
That list is not glamorous. It is why the floor still clicks together five years later instead of peaking in the middle of the hallway.
For [LINK: how to prep subfloor for hardwood] the same steps apply, only you add more fasteners and usually a better underlayment or glue-down system. Hardwood tells on you faster when the prep is lazy.
Does the quote include installation and subfloor prep?
Ask the question out loud and watch their face. Most retail install quotes do not. They assume a "broom-clean, level, dry" surface that never exists in a real house. If the number looks too friendly, the prep is either missing or buried in fine print that says "additional charges may apply." I write prep as its own line so the owner sees the hours. Labor for leveling and moisture remediation often runs half a day to two full days on a standard main floor. Materials — self-leveler, plywood patches, vapor barrier, extra screws — add real cost. Anyone who tells you it is "included" without walking the job with a meter and a straightedge is either guessing or planning to cut the corner after the deposit clears.
I still get calls from people who saved two thousand on the front end and spent eight on the back end tearing out swollen laminate. The crew is long gone. The subfloor is still wrong.
FAQ
Why is subfloor preparation important for new floors?
It keeps the finished floor from cupping, peaking, squeaking, or releasing because the base is flat, dry, and solid. Skip it and the failure shows up after the warranty window and after the installer has moved on. Every callback I have ever eaten started with someone calling the subfloor "good enough."
Is it absolutely necessary to level out a subfloor before installing flooring?
Yes. Exceed the manufacturer's flatness tolerance and you void the warranty and guarantee telegraphing or joint failure. A straightedge and self-leveler cost less than a full tear-out.
How do I prepare my subfloor for laminate flooring installation?
Clean thoroughly, moisture-test, repair soft spots with proper plywood, verify flatness within 3/16 inch over 10 feet, and install the specified underlayment and vapor barrier. Then acclimate the laminate in the space before you open the first box.
Does the quote include installation and subfloor prep?
Only if it is itemized with moisture testing, leveling, and repairs listed separately. A single low number almost always means prep will be billed as a change order or skipped entirely.
What moisture numbers should I demand before anyone starts?
For wood subfloors I want readings under 12 percent and within a few points of the new flooring. For concrete, calcium chloride or in-situ probe results inside the flooring manufacturer's published limits — usually under 3-5 lbs or 75-85 percent RH depending on the product. No meter, no install.
Anyway. Call somebody before you rip anything out. Doesn't have to be me. Should probably be me.