Brick Flooring with Wood Trim
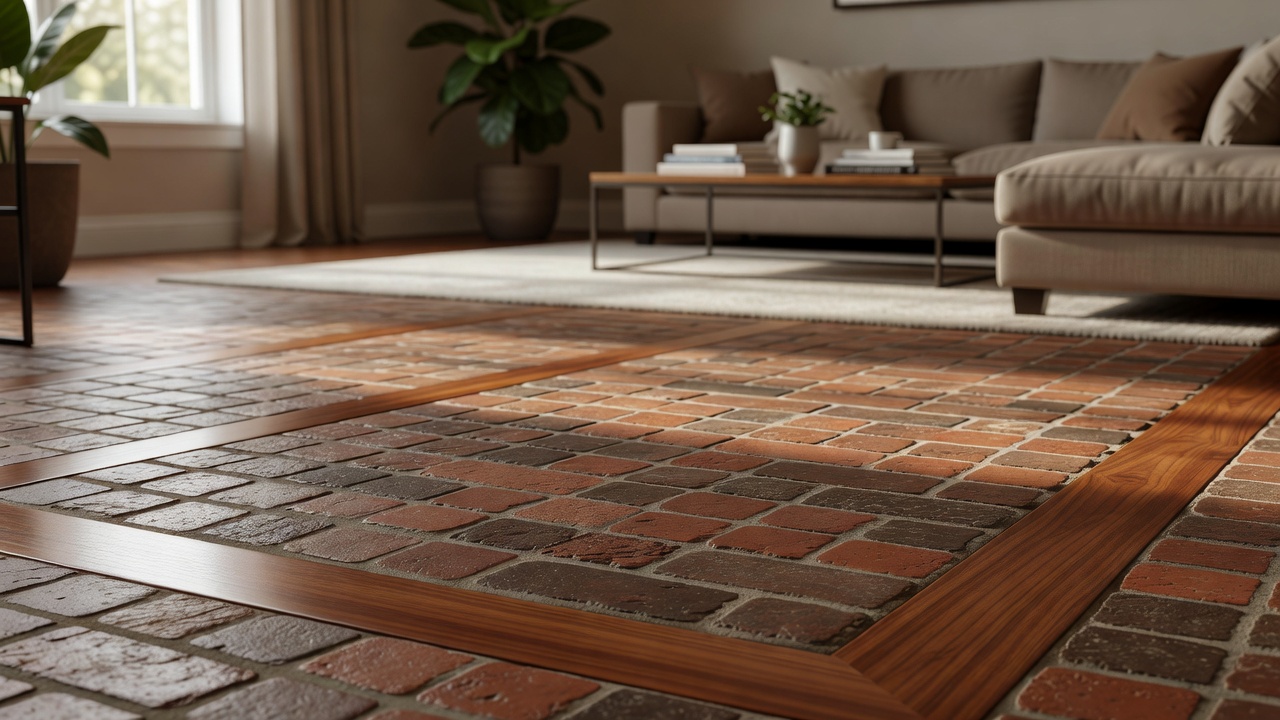
Q: I have seen photos of brick flooring with wood trim. I asked a representative of a brick company about the photos as they were in their advertisements. He suggested I install the wood (I think oak 1 x 6) first by nailing it to the floor, which proves to be a problem since we have concrete slab floors. He also indicated that we would need to allow for expansion around the wood. How would I do that if I was going to grout between the bricks and the wood? Any suggestions on the whole process and the specific points I’ve noted?
A: The method used to install wood flooring as an accent or trim around brick flooring is heavily dependent on the look you are striving for. Regardless of design, you will use the wood to create a picture frame like border around the areas where the brick is to be installed. You will want to build a 2 – 3 plank border (depending on the width of the planks) then install the brick (tile or stone can also be used).
Since you are installing over a concrete subfloor you will need to look into a wood product that can be glued down. I would suggest looking into an engineered product as they tend to expand and contract less than solid wood flooring.
Assuming this border will only be along your walls or mostly along the walls with little wood intermixed along the floor itself, you should only need to account for expansion gaps along the border of the floor. This means inside each frame of wood you will be able to grout the brick accordingly without any gaps.
This technique is very similar to one suggested for Ruthie’s project back in July where we talked about making a foyer to break up the bowling alley appearance of her hall from the entry way of her new townhouse. I also discussed this somewhat with Glenna when she asked about wood flooring with tile insets.
In the end the key here is first deciding how you want the floor to look, then finding a suitable flooring to go over your concrete. After this is done, mapping out the project itself becomes much easier and accounting for the proper expansion gaps will be a breeze.