Installing Hardwood Stairs
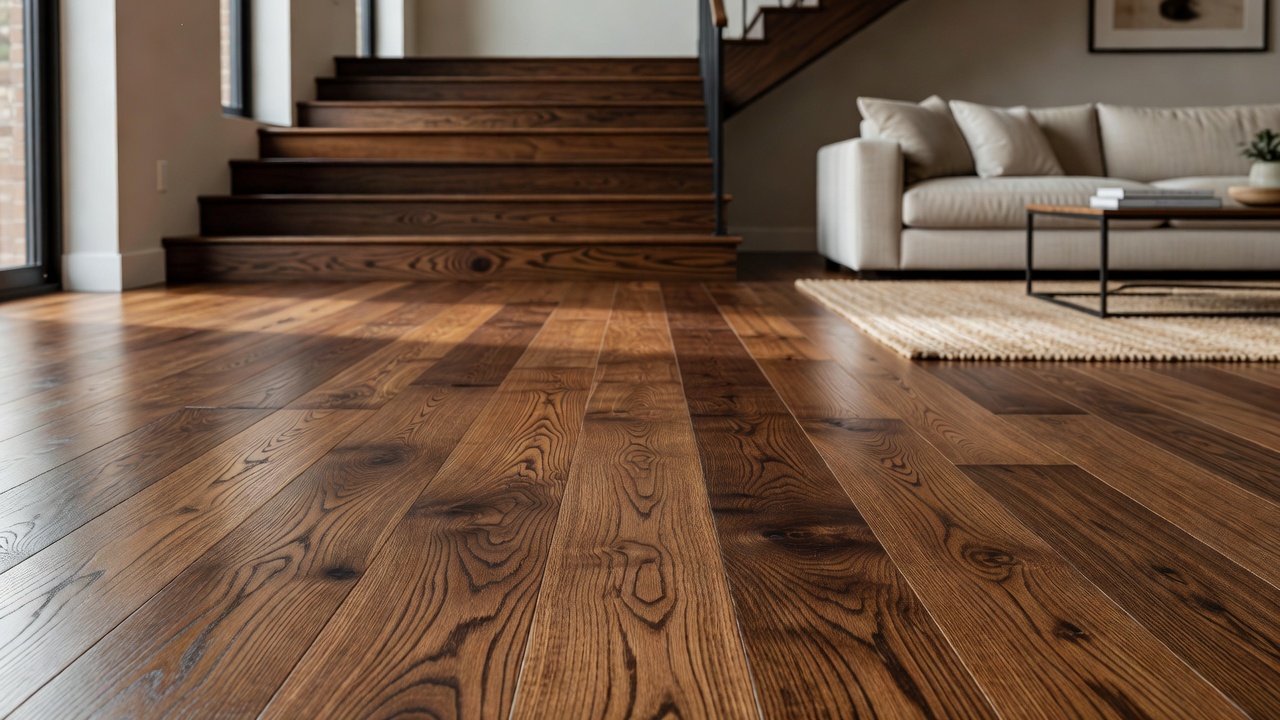
Q: I want to remove the carpet on my stairs and install hardwood planks. Is there a way to install them without leaving nail indentations on the planks. I am also looking for instructions on installing the hardwood plank stairs. Any information you can give will be greatly appreciated.
A: When your installing a nail or staple-down floor, you will only top nail the first and last rows. To cover the indentations created, you will want to use a color matching floor putty. All of your other rows of flooring will be nailed at a 45 degree angle through the top of the tongue. Below is a link to our guide on nail-down installations which includes a great video that we worked with Westhollow to make.
Nail-down Installation Page
In regards to your stairs you will be gluing the planks and nosing in place, not nailing. You will use some nails to anchor the last row, but this nailing should be done behind the scribe line. Your scribe line marks the extent of what you riser will cover. Here’s a quick break down for installing hardwood stairs:
- Make sure you remove all debris from the stairs, this includes drywall mud or paint that may have ended up on the stairs under your carpet.
- Ensure your stair’s nosing is flush with the riser before installing your new hardwood. This may involve some cuts.
- Measure for cuts, as they need to be exact.
- Start with the nosing first and then work back with your planks to the riser. At first, just lay the wood out to make sure your cuts were done properly. Pull the planks together tightly and ensure the nosing is snug against the riser of the next stair.
- For your installation, start at the bottom of your stairs and work to the top.
- After mocking up the tread portion and riser for each store, then begin with the nosing and glue along the back of the tread portion in an s-curving fashion. Put the nosing into place and then lay the planks, gluing in similar curving fashion. You can also spread an adhesive using a trowel along the tread of the stair, then lay the nosing and planks. Ensure to make the nosing snug and pull the planks together tightly.
- Nail along the last row behind the scribe line, but not too close to the back of the plank as this can cause cracking.
- After installing the tread, install the risers, these should be glued into place.
- Give the stairs plenty of time to cure before walking over them.
- Install any transitions you may need at the top of your stairs and your done.